Discover the joy of sensory activities that strengthen neural connections
Picture this – a young child leaving colorful footprints on a paper canvas with paint-coated feet.
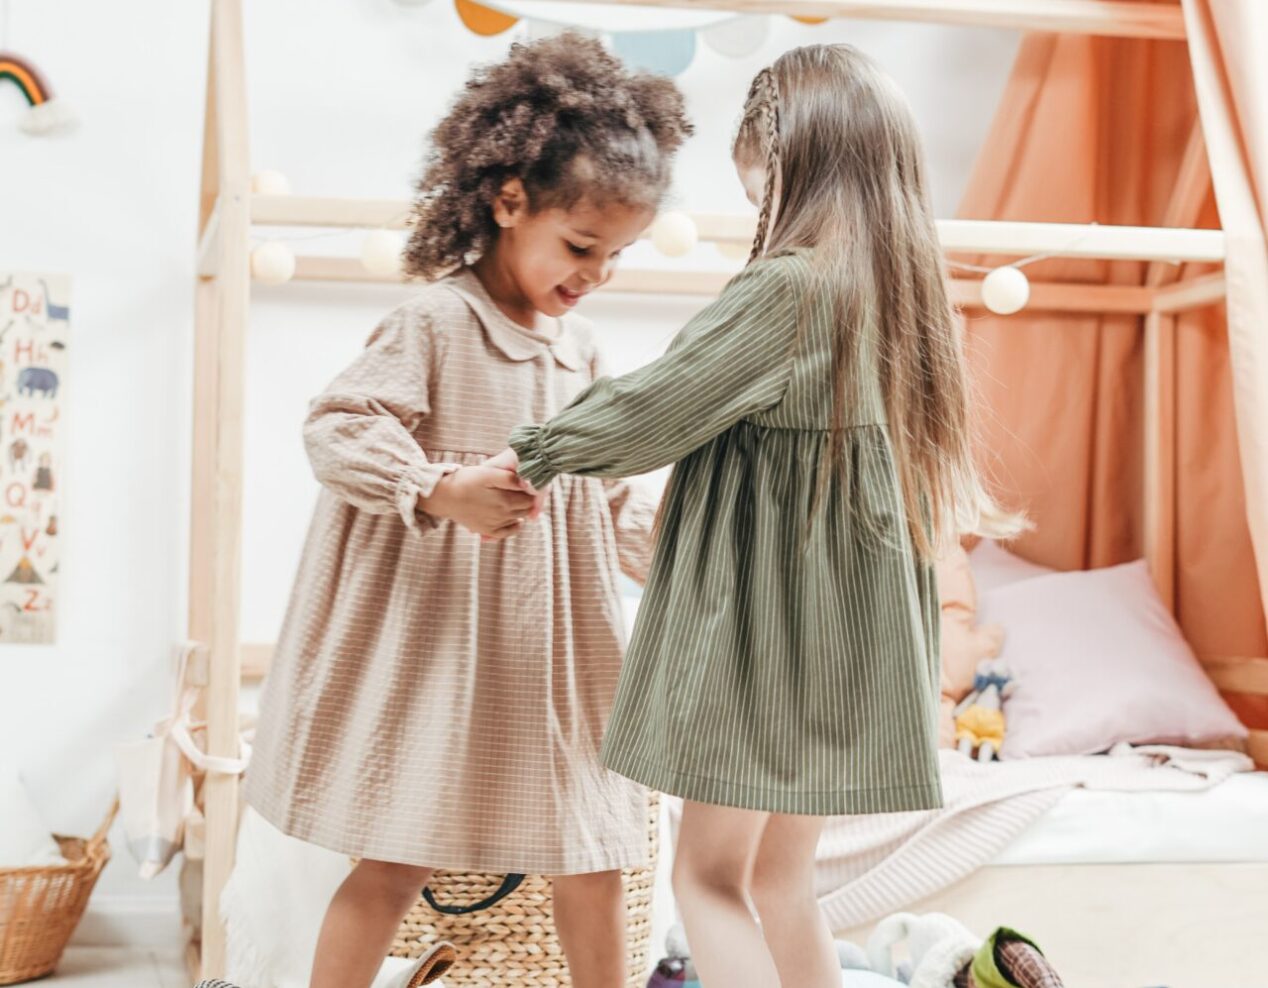
Often, the importance of sensory play is highlighted for infants and toddlers who are just starting to discover their surroundings. However, this form of play is equally beneficial (and extremely entertaining) for older children. For example, two-year-olds are known to thoroughly enjoy it.
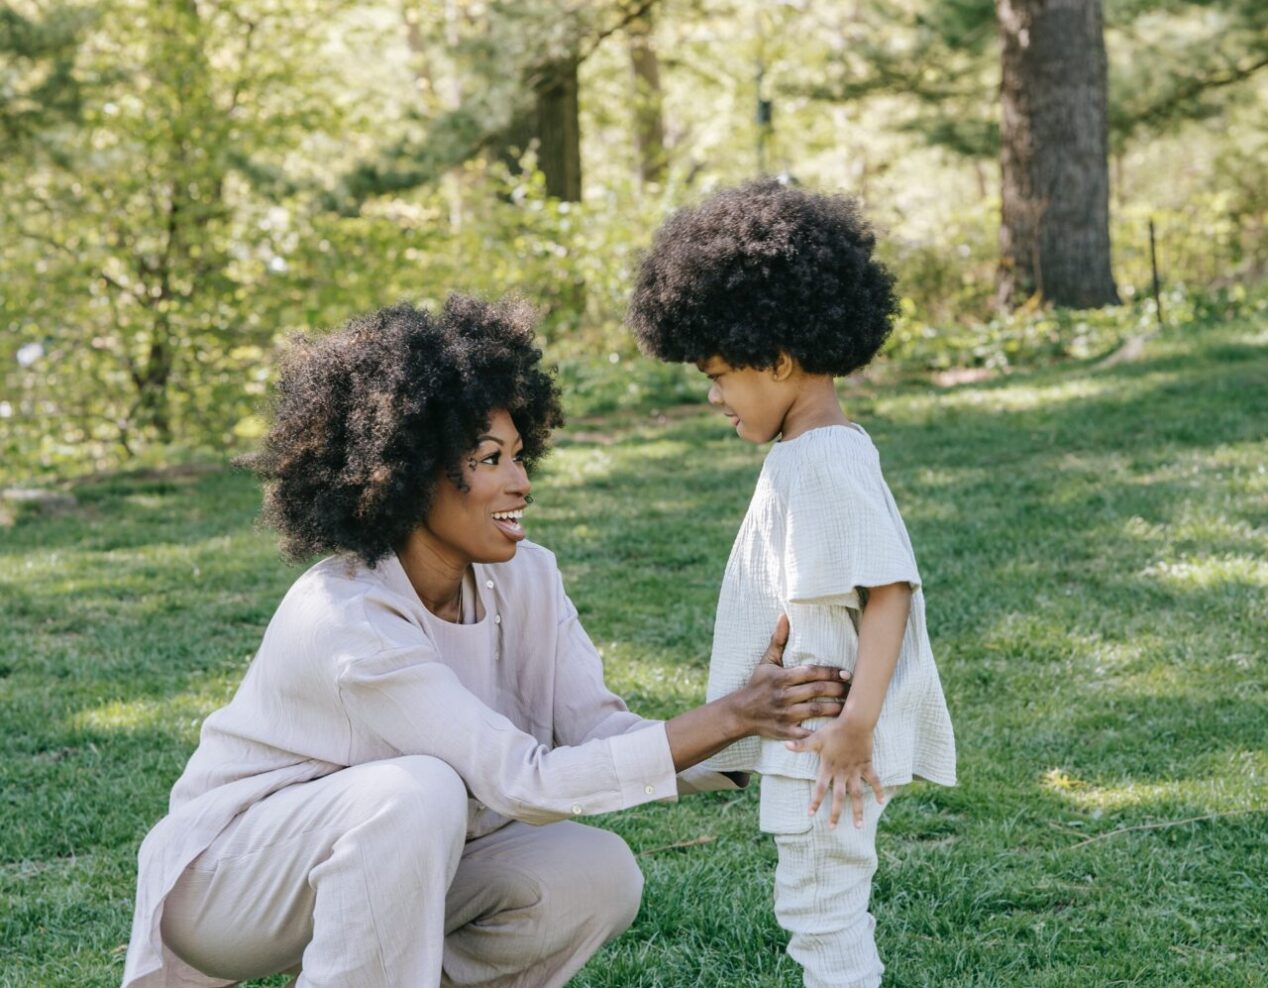
Sensory activities create an immersive learning experience, stimulating both the mind and body, while enhancing neural connections. Every action is met with a reaction from their environment, creating associations and connections in their minds. The critical development of young children is largely dependent on such experiences.
These activities are ideally performed outdoors, but can be adapted for indoor environments. Everyone has a different comfort level when it comes to handling mess, so don’t hesitate to put on gloves, goggles, or aprons if required.
Let’s explore four types of sensory play, games, and activities suitable for toddlers.
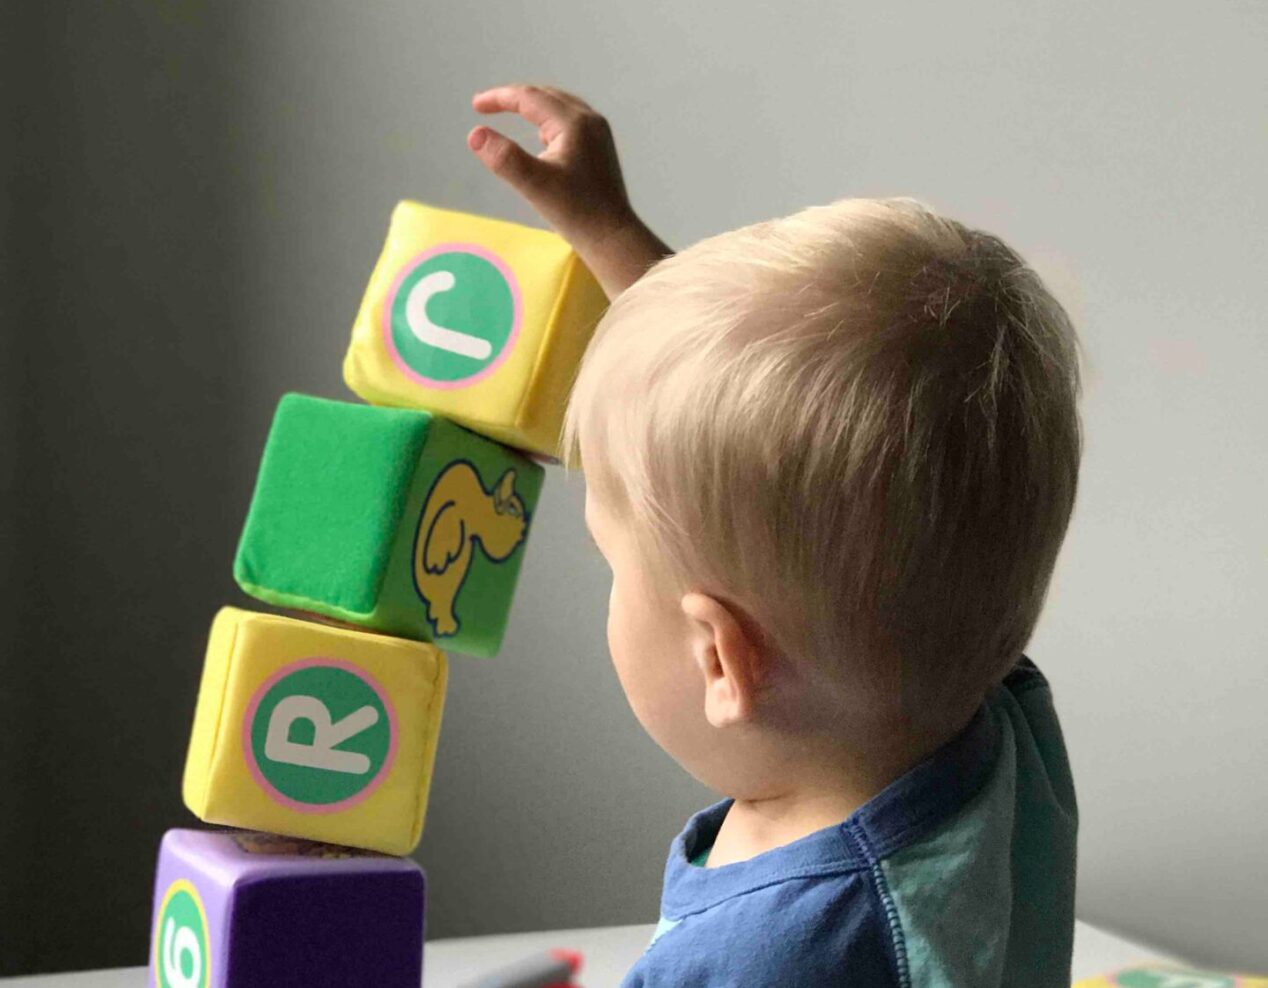
Creating art with tiny feet Who says sensory play is only limited to hands? Engaging other parts of your toddler’s body is a delightful way to improve proprioception skills, which relate to understanding body positioning and movement. The developmental period from 22 to 30 months sees children mastering skills like jumping in place with both feet, balancing on tiptoes, and leaping a distance of 20 to 36 cm – all gross motor skills that this activity enhances.
Here’s a way to do it:
Position a long strip of paper (or smaller ones attached together) flat on the ground, and secure the ends using tape or heavy objects such as rocks or bricks. Scatter small blobs of washable paint like Tempera or finger paints across the paper. Use various colors, but avoid too much paint—a few inches between each blob is adequate. Ask your child to create art! If they need some initial motivation to use their feet, let them experiment with their fingers first. They can experience the texture and movement of paint before involving their feet. Most likely, they’ll be engrossed in foot painting and won’t require any further motivation. If they ask for suggestions, you can propose ideas like pressing feet firmly into the paint, sliding feet back and forth, hopping from one spot to another, or creating different shapes (such as circles) with their toes. Clean-up level: Medium
Materials needed
Essential: Washable paint, paper Optional: Long paper (like butcher paper) Playing with ice Now that your child is two years old, they can engage in more complex activities involving ice. Simple toddler activities like transferring cubes from one container to another are still appealing. However, more intricate ice activities are now also possible. Silicone ice cube trays can produce perfectly-sized cubes, and you might find it interesting to add a few drops of food coloring to your next batch of ice cubes.
Stacking ice cubes on a tray By 31 months, many children can construct block towers in more complex ways. For a fun variant, try building towers with ice cubes on a tray. The slippery properties of ice make it challenging to balance, but sprinkling some salt on an ice cube (and waiting for a few moments) before adding it to the tower aids in stabilization. Lay a piece of string on top of an ice cube, sprinkle some salt on it, and wait. In a few moments, the ice may remain attached to the string when lifted, creating a suspension bridge effect. *Note: This part requires patience and is a bit tricky 😊.
Clean-up level: Low
Dinosaur excavation Between 24 and 30 months, your child might have mastered the art of holding a spoon, brush, or chopstick like an adult. Freeze small dinosaurs (and other tiny animal figurines) in ice—larger trays might be needed—and provide your child with a collection of tools: toothbrushes, scrubbers, bristle brushes, spray bottles filled with water, and chopsticks. It can be quite the adventure to free the frozen creatures, and you might need to help your toddler initially. Clean-up level: Low
Creating art with frozen paint Freeze washable paint (slightly diluted with water). A popsicle stick or toothpick can make the perfect paintbrush. Secure the “handles” by waiting until the paint is partially frozen, or cover the tray with plastic wrap or aluminium foil and insert the sticks. Once the paint is frozen, allow it to thaw a bit (this makes it easier to paint with). Provide your child with a large piece of paper and let them paint away. They’ll marvel at the changing texture and mixing colors as the paint cubes begin to melt. Clean-up level: Medium
Materials needed
Essential: Ice cube tray, salt, small toys for freezing, a scrubber of any sort, washable paint, popsicle sticks Optional: Food coloring, string, additional scrubbing tools, spray bottle, foil, or plastic wrap Exploring shaving cream Shaving cream is not only affordable but also incredibly fun to touch, making it a preferred sensory play material. Here are a few ways to maximize the fun with a single can:
On a scorching day, equip your child with a can of shaving cream and a hose set to a fine mist or spray. Best done on a hard surface (a driveway, sidewalk, or stone), the child can be in their swimsuit or naked. Clean-up level: Medium
Create DIY puffy paint*—it’s not exactly paint, but it’s a fun way to create art as messily as your child prefers. For each color you choose, you’ll need ½ cup of foaming shaving cream, ¼ cup of glue, 10-15 drops of food coloring (or a spoonful of paint), and some plastic bags. After combining everything except the coloring or paint in a bowl and mixing until just combined, divide it into different containers before adding color. Pour some of the mixed color into a plastic bag, cut off the end, and use it like a pastry or grout bag—now you have a nozzle. You can “paint” on paper, cardboard, or any surface. Alternatively, you can use a brush or squeeze bottle instead of a plastic bag.
Clean-up level: Low
Host a shaving cream car wash**. You can simply use toy cars, shaving cream, and brushes, or upgrade it with a few added ingredients: a plastic bottle, an old sponge, and scissors. Using a milk jug or other plastic bottle, cut off the bottom half, create an opening on one side, and apply some masking tape to protect your child’s fingers. Flip it upside down, cut the sponge into strips, and attach them to the opening, so they dangle down. Place your car wash station into a large container with the toy cars, shaving cream, and toothbrushes, and let your child play.
Clean-up level: Medium
Materials needed
Essential: Foaming shaving cream, glue, food coloring or paint, plastic bags, toy cars, scrubbing brush Optional: Milk carton or other plastic bottle, sponge, masking tape Mud play The traditional mud play is not only timeless but also beneficial for the brain. Research has shown that a bacterium found in mud, Mycobacterium vaccae, boosts the immune system and promotes the release of serotonin, the hormone responsible for feelings of happiness.
Playing with mud allows your child to gauge their comfort level with messiness, understand the properties of mud and its.